Lamp socket field repair
Posted: 23 September 2011 Filed under: Electronics, How to's, Pinball Champ '82, Playfield | Tags: lamp socket, pinball, playfield, zaccaria Leave a comment »
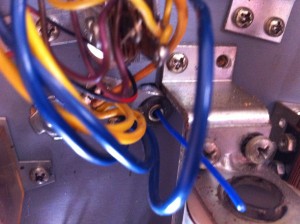
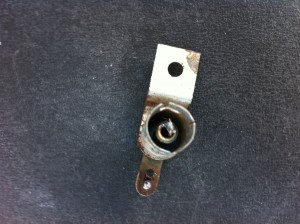
This is a little how to on how to “field”-repair a pinball lamp socket. With field repair I mean, you don’t have a new lamp socket handy and you want the thing working NOW. You don’t even have to disassemble the socket to do this, but for this tutorial I’m using pictures from a mounted and unmounted socket repair. This is a trick I learned when I was working as a technician in an arcade hall way back when…
So, your light doesn’t work, but there is power going to the socket. You test the socket and notice that there’s no connection between the “live” lip and the spring inside the socket. This is what you do:
With a piece of sanding paper, sand the top of the spring. Use your soldering iron to put a little dab of tin on the spring.
Take an end of shielded wire and strip one end about half a centimeter. Bend the exposed wire in a little hook and put a bit of tin on it with you soldering iron.
Thread the shielded part through the spring and make sure the hook catches on the spring.
Solder it thight, easy job since the tin is already on the metal. Just heat it up.
Then cut the wire to length, strip the end and solder it to the “live”-lip.
If you’re working on a mounted socket, be sure that you don’t unsolder the other wires.
Now pop in the lamp and if you followed this guide correctly…
Now get to work!


 Flippers.be
 Videolan.org – The home of VLC