While I’m waiting…
Posted: 30 August 2011 Filed under: Cabinet, Mechanics, Pinball Champ '82 | Tags: ball shooter, chrome, coin acceptors, door, pinball, zaccaria Leave a comment »
I took apart the cabinet door. It was in a sorry state and needed a good clean.
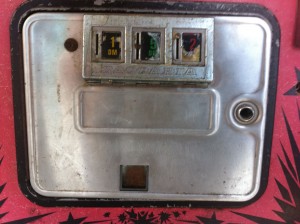
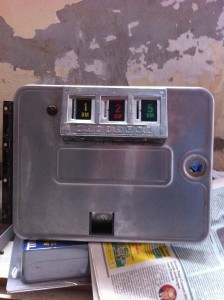
I noticed a couple of things: first, the door is German. With that I mean that the coin price tags are for 1, 2 and 5 DM (Deutsch Mark). Unfortunately, inside there are only two coin acceptors, one for 5 Belgain francs and one for 1 DM, and only two microswitches to count the coins dropping, one of which did not test well and needs to be replaced. This explains why two of the coin slots had screws in them. All the wires to the microswitches have been cut and since I don’t have a wiring diagram for the door, I’m waiting until the electronics are fixed so I can start measuring out which lead goes where.
Once I took apart the door, I noticed that the door itself is deformed (bashed in) and that is the reason it doesn’t open and close smoothly anymore. I tried to straighten it out a bit, but as you know, once metal is bent, it’s almost impossible to get it straight again. Atleast it’s out of my skill set (if you have any tips, leave a comment). Anyway, I managed to get it to fit in the frame much better and although still bent, it looks better.
I cleaned off al the little parts and started putting them together again. I do still need to find a replacement coin eject button and preferably a new coin return lid as they are both very rusty. I’ve also removed the old lock and ordered a new one.
Here are some pictures before and after:
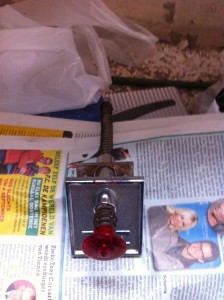
Once that was done, I started on the ball shooter assembly. The rubber at the end was completely dead, a new one is on the way together with all the other rubbers needed for the pinball machine. The rod is in OK condition, but I’ve ordered new springs too. The nice chromed ones. As with my motorcycle, you can never have too much chrome! 🙂
I cleaned the front plate and noticed that some of the chrome is gone. I might send this off to rechrome later on, together with the coin entry casing on the door which is in an even poorer state.
Which tools do I use?
Posted: 30 August 2011 Filed under: Electronics, General | Tags: eprom, logic probe, pinball, tools Leave a comment »
Well, so far it’s quite straightforward… a digital multimeter (I use the Velleman DVM-4100), a 30W soldering iron and a whole range of screwdrivers and pliers.
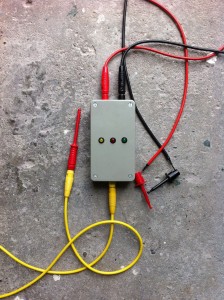
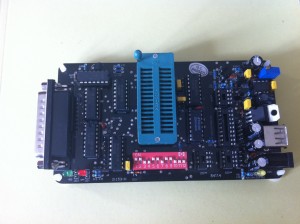
In preparation of repairing the CPU board, I have bought a Willem EPROM programmer (off ebay), two 2532 EPROMS (oh yes, I found some) and made a logic probe as described on the flipper-pinball-fan website (see my links).
Now I’m waiting for a PCMCIA Parallel port card for my laptop, so I can connect the EPROM programmer and make me a copy of Leon’s test EPROM from the flipper-pinball-fan website (see my links). Then the testing will continue!
The electronics
Posted: 30 August 2011 Filed under: Electronics, Pinball Champ '82 | Tags: cpu, electronics, pinball, power supply, sound, zaccaria Leave a comment »
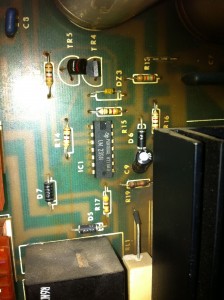
Before switching on the pinball machine for the first time, I checked the input voltage settings on the main transformer and the fuses there and I checked the fuses on the power supply board. I needed to replace one fuse, it looked good, but when I measured it with my multimeter it failed the test.
Then I finally switched the machine on. Nothing happened. Then I plugged in the power cord and tried again… Lights came on, displays flickered at random and then went out. That was it.
Clearly things are not working as they should, time for some troubleshooting.
So where to start? With the power supply ofcourse!
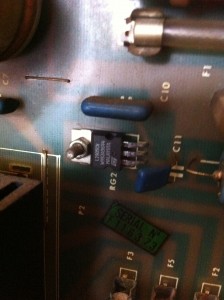
The first thing I noticed was no -5VDC due to a defective 7905. Off to the store I went and now the power supply has a brand new 7905.
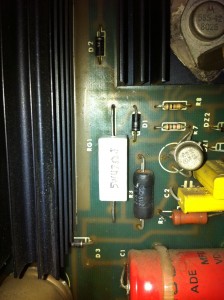
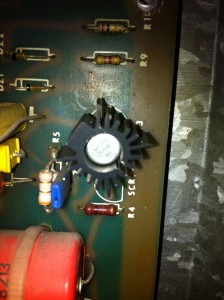
Unfortunately after fixing the -5VDC I tested again and the 170VDC was gone. After a few measurements I noticed that TR3 (2N3440) had come loose from the PCB. Shabby soldering? That knocked out R6 (47 Ohm 3W) as well. Off to the shop I went again. I had to use a 5W resistor, but that’s not a problem.
I reconnected the power supply board into the pinball machine and tried again. Except for a pop from the loudspeaker when switching on nothing changed. I disconnected everything except the sound board and after pressing the test button on it, the LED blinked 5 times and the pinball machine started talking to me 🙂
The Sound Test video, best viewed with VLC media player (see my links section).
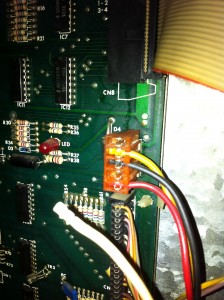
I disconnected the sound board and reattached the CPU board. It would not boot. After some reading on zaccaria-pinball.com (see my links section) I checked the Power Fail signal coming from the power supply board and yes, it was the wrong signal 🙁
So I did what all good technicians do and disconnected the lead from the connector. Problem solved. I promise to get the power fail circuit fixed later on. I promise!
After retrying to boot the CPU, it actually did… sort of. I starts booting but then keeps hanging somewhere. When measuring the test points, I don’t get the pulse signal on TP6. Further testing and digging in the schematics is necessary. To be continued…
So what did I buy?
Posted: 30 August 2011 Filed under: General, Pinball Champ '82 | Tags: berfore, condition, pinball, zaccaria Leave a comment »
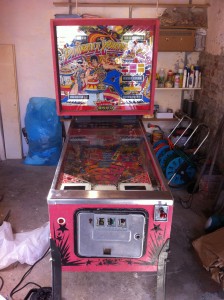
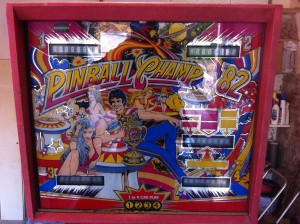
I bought a Pinball Champ ’82. This machine was built by Zaccaria in Bolognia, Italy in 1982.
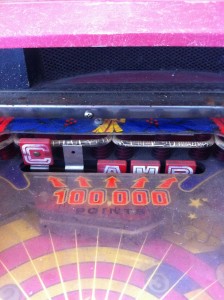
Some pictures:
The backglass is in relatively good condition. There is some wear above the 2nd and 3rd player displays and the lift trim is rusted.
The playfield needs a thourough clean, all rubbers need replacing, burnt out lamps need replacing and some screws are missing, but all plastics are intact!
This is my biggest worry… How am I going to replace that missing “H” drop target? I have no idea yet.
The door is a mess, the cable tree inside has been cut, the lock has been drilled out, the door is deformed and doesn’t close or open easily, the red Zaccaria door sticker is missing and don’t get me started on the coin slots…
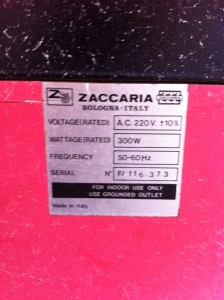
The serial number of the machine. I haven’t registered it yet on the Internet pinball serial number database, I’ll do that when it’s restored.
Welcome to my pinball restoration blog
Posted: 30 August 2011 Filed under: General, Pinball Champ '82 | Tags: buy, pinball, zaccaria Leave a comment »
So why this blog? Because I’m restoring a pinball machine? Duh…
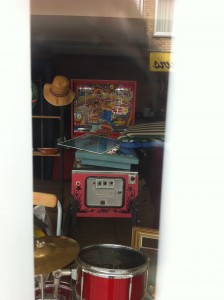
I was walking down my street about a month ago and noticed a sign on a window saying “everything for sale” and a mobile phone number. I looked in and saw this:
So I wrote down the mobile number and called the next day. Yes, it is still for sale; yes, I can come have a look; yes, you can take it off my hands for 75€…
Two days later it was delivered to my garage and now I’m restoring it.

 Flippers.be
 Videolan.org – The home of VLC