Working on a replacement CPU board
Posted: 26 January 2014 Filed under: Electronics, General, Pinball Champ '82 | Tags: cpu, electronics, eprom, memory, zaccaria Leave a comment »
Well, here we go. I bought an old, untested CPU board on ebay quite a while ago. It clearly had some battery leakage problems that had been cleaned up by the previous owner, so now I need to fix the rest and get it up and running again.
Step 1: asses the damage.
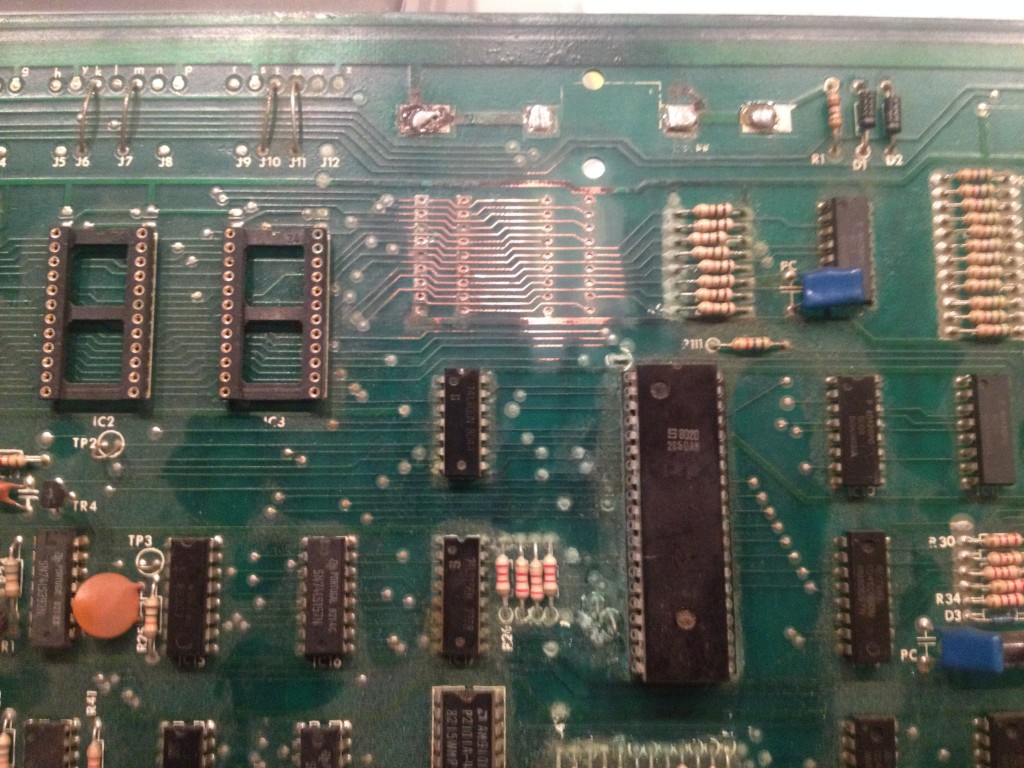
I noticed some of the copper was missing where the IC fittings used to be, so I first started with measuring the tracks that were still there. A lot of them are broken and not making the right connections. The breaks were too big to fix by covering them with a bit of solder on the component side of the PCB, so I will need to run wires on the solder side of the PCB. But first, I put in the missing IC fittings for the RAM chips.
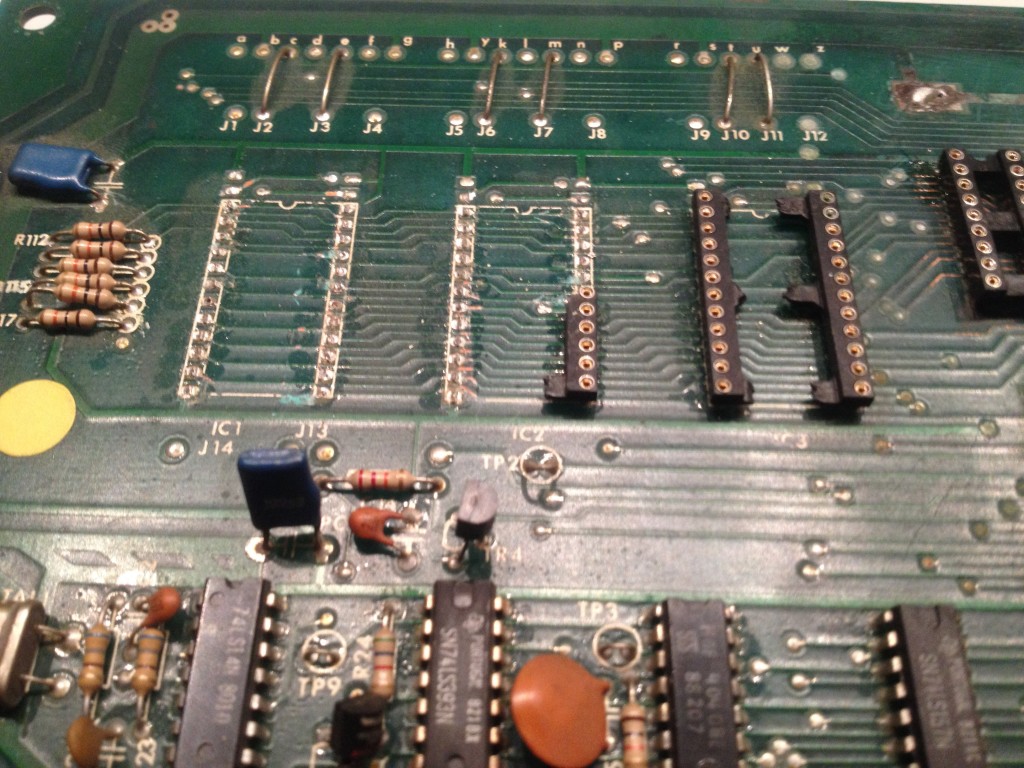
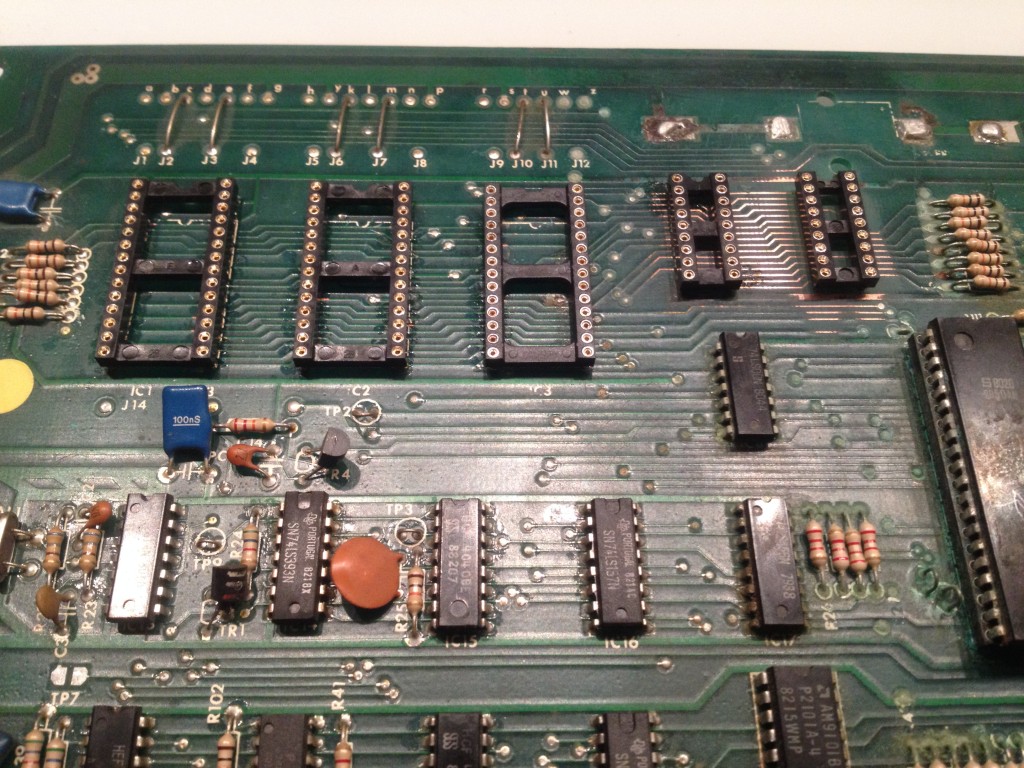
Next I removed the 24-pin IC fittings for the three 2532 EPROMs. I replaced them with three 28-pin fittings so I can put in two 2764 EPROMs, which are needed to use David Gersic’s Freeplay ROMs and are much easier to come by. Using three fittings still gives me the option to put in the original 2532 EPROMs if needed. This also involves changing the jumpers just above the EPROM IC fittings.
As I am not going to reuse the IC fittings, I just cut them off.
The remaining “feet” were removed with a soldering iron. Once done, I just popped in the new 28-pin IC fittings and soldered them in place.
All done.
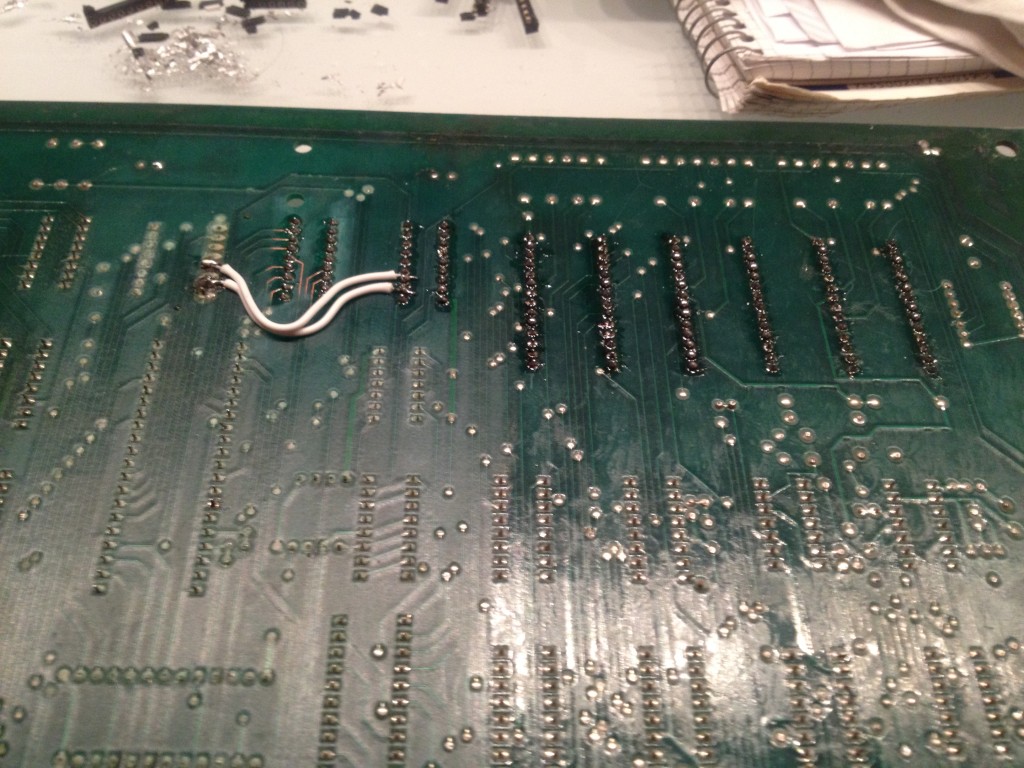
Now I started measuring the connections on the new fittings and found that more than half were bad. This is going to be a lot of work. I’ve started wiring on the back side of the PCB, but time ran out, so I’m not finished yet. I have to redo connections between both RAM fittings and between the left RAM and right EPROM fittings. There was clearly a lot of damage from the battery leakage.
I will keep you updated on my progress.
Upcoming projects
Posted: 7 January 2014 Filed under: Devil Riders, General, Pinball Champ '82 | Tags: cpu, display, driver board, electronics, pinball, zaccaria Leave a comment »
A new year, some new resolutions… Let’s get these machines finished.
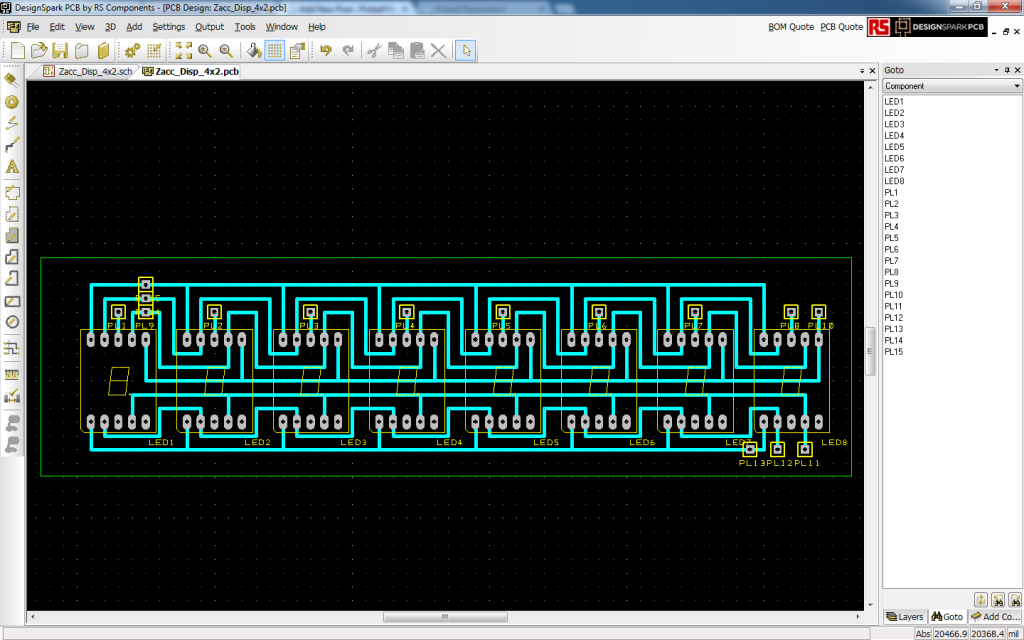
The Pinball Champ’s displays are failing again, so I’m going to replace them with LEDs. The 7 segment displays are on order (estimated delivery 28 January), I have the PCB etching kit ready and I’m almost done with the PCB design (largely stolen from Leon).
One of my pinball friends Eric exchanged my Pinball Champ backglass with a less damaged one. He only used his to hang on a wall in his gameroom and didn’t mind exchanging it for mine. One of the projects will be to fix the paint on the glass with some clear varnish. He also exchanged his Zaccaria etched playfield glass for my blank one, so now my Devil Riders also has an original playfield glass. Thanks again Eric!
Then finally I have scored myself a new 2nd generation CPU board. I’ve given up on the one I had for now, I might revisit it in the future, but it’s not very likely. The new CPU board has a bit of battery leakage damage around and under the memory chips that I need to fix. Hopefully I can get it to work 100% so I can put it in the Pinball Champ and get the Devil Riders’ CPU board back. Then I need to recheck all the electronics in the Devil Riders as my last CPU board test caused sparks on both the Power Supply and Driver board.
If all goes well both machines should be up and running by April 5th.
I’ll keep you posted.
 Flippers.be
 Videolan.org – The home of VLC