Working on a replacement CPU board
Posted: 26 January 2014 Filed under: Electronics, General, Pinball Champ '82 | Tags: cpu, electronics, eprom, memory, zaccaria Leave a comment »
Well, here we go. I bought an old, untested CPU board on ebay quite a while ago. It clearly had some battery leakage problems that had been cleaned up by the previous owner, so now I need to fix the rest and get it up and running again.
Step 1: asses the damage.
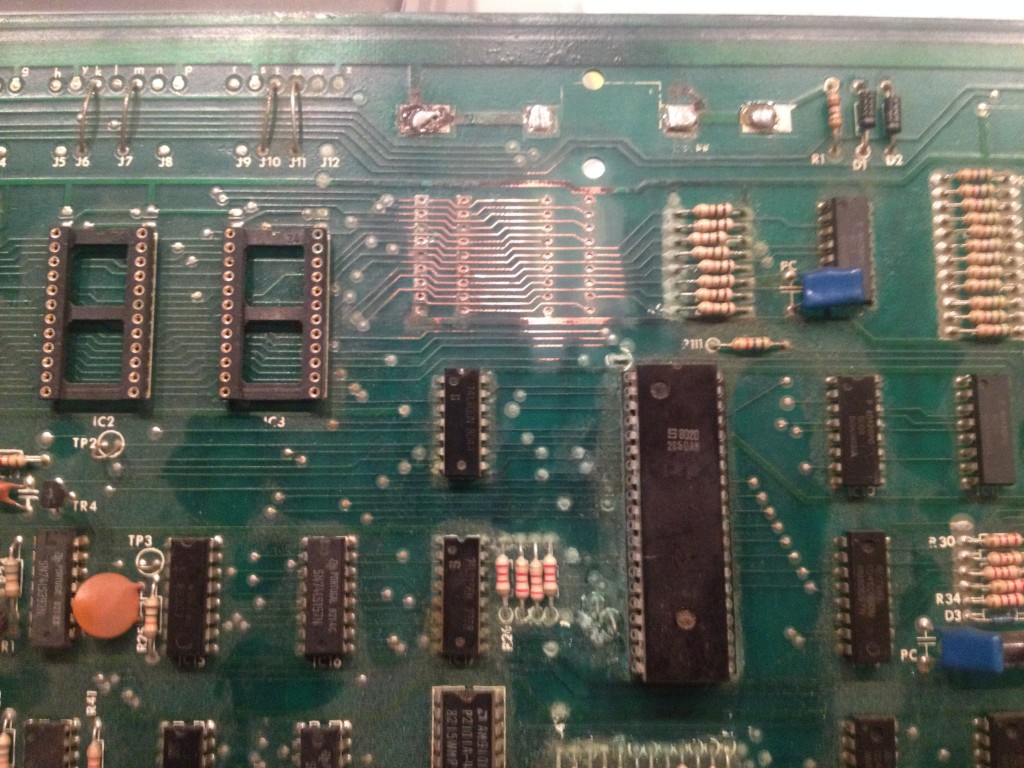
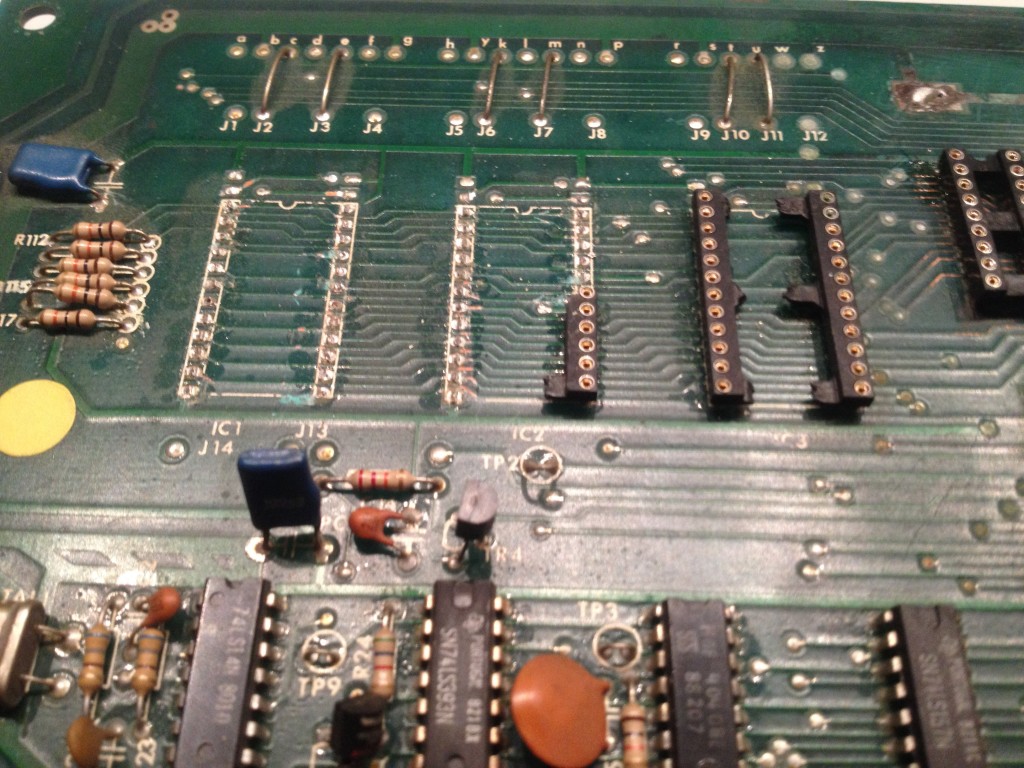
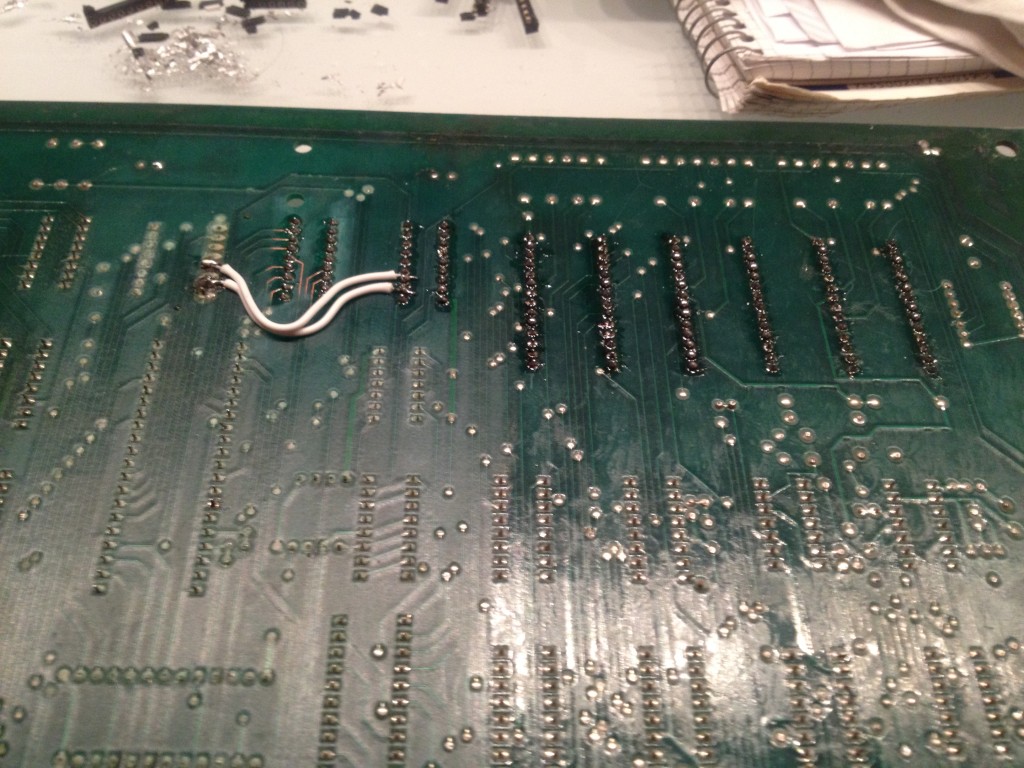
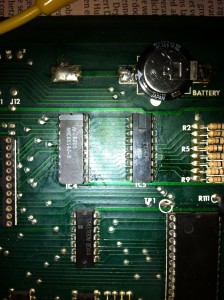
I noticed some of the copper was missing where the IC fittings used to be, so I first started with measuring the tracks that were still there. A lot of them are broken and not making the right connections. The breaks were too big to fix by covering them with a bit of solder on the component side of the PCB, so I will need to run wires on the solder side of the PCB. But first, I put in the missing IC fittings for the RAM chips.
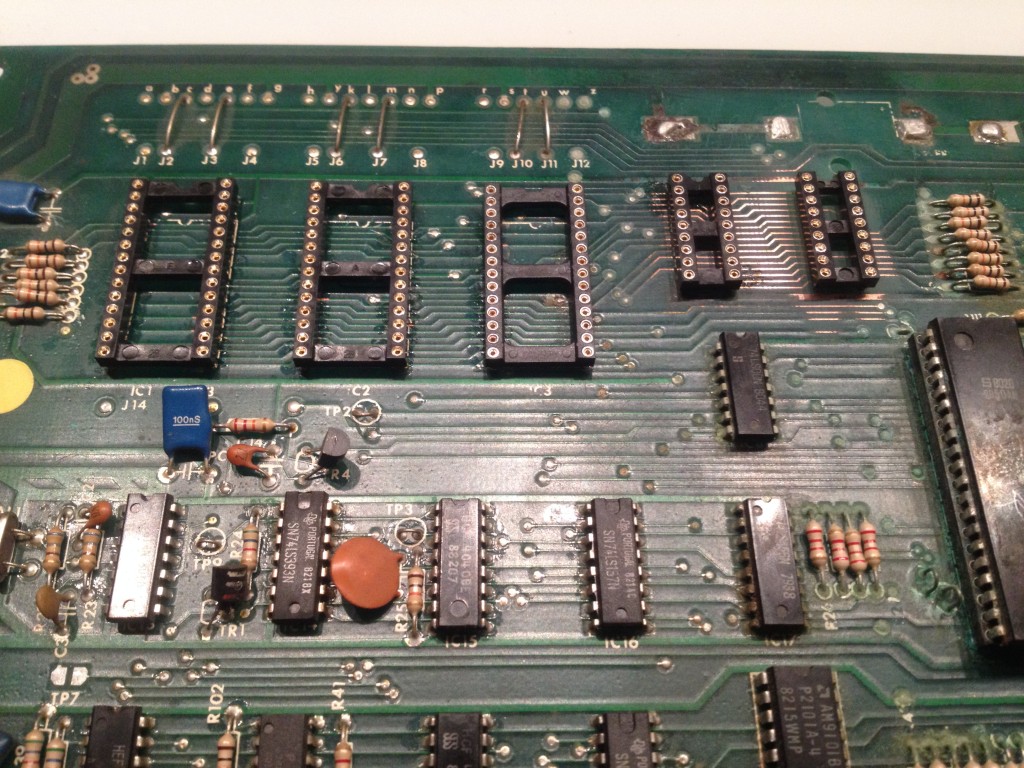
Next I removed the 24-pin IC fittings for the three 2532 EPROMs. I replaced them with three 28-pin fittings so I can put in two 2764 EPROMs, which are needed to use David Gersic’s Freeplay ROMs and are much easier to come by. Using three fittings still gives me the option to put in the original 2532 EPROMs if needed. This also involves changing the jumpers just above the EPROM IC fittings.
As I am not going to reuse the IC fittings, I just cut them off.
The remaining “feet” were removed with a soldering iron. Once done, I just popped in the new 28-pin IC fittings and soldered them in place.
All done.
Now I started measuring the connections on the new fittings and found that more than half were bad. This is going to be a lot of work. I’ve started wiring on the back side of the PCB, but time ran out, so I’m not finished yet. I have to redo connections between both RAM fittings and between the left RAM and right EPROM fittings. There was clearly a lot of damage from the battery leakage.
I will keep you updated on my progress.
Back home and back to work!
Posted: 18 September 2011 Filed under: Electronics, Pinball Champ '82 | Tags: cpu, display, electronics, eprom, memory, pinball, sound, test program, zaccaria Leave a comment »
Finally back from Sweden. There were quite a few packages waiting for me! Unfortunately, the TMS40L45 wasn’t one of them, so I couldn’t start work on the CPU board.
Or so I tought…
I started Leon’s test EPROM again and started testing all the outputs since I skipped over that test to find out if the memories where good. Well, I found two 3081 chips that are dead… that kind of explains why the LED on the soundboard always comes on when I attach it to the CPU board. So I’ve ordered a couple of those 3081’s and they should be here in a couple of days.
I also saw that all the signals on the CN14 connector for the displays were there, so I started fooling around with the idea of writing a little program to see if the displays still work. I guess I can’t wait for the CPU board to be fixed so I can use the built in tests. And it does keep me out of other trouble 😉
Anyway, I’m waiting for my EPROM to be erased to put the 3rd try on it. I have a good feeling this time… But then again, I had a good feeling every time.
If it works, I’ll let you know and post the program and some pictures.
One step closer
Posted: 5 September 2011 Filed under: Electronics, Pinball Champ '82 | Tags: cpu, electronics, eprom, memory, pinball, zaccaria Leave a comment »
I finally managed to get my Willem EPROM programmer working in Windows 7 thanks to this article from Doug Brown. Thanks Doug! http://www.downtowndougbrown.com/2010/10/sivava-willem-eprom-programmer-on-windows-7-64-bit/
So after copying the original EPROM’s contents to my HDD (you never know!), I made a test EPROM on a 2532 chip as described on Leon’s Flipper-Fan site (see my links) and set up my test environment.
I ran the test a couple of times and found that the memory test fails every time!
So I need to replace the two memory chips, both ancient and hard to find…
I have already found a few online stores that sell the 6514J-9, but as for the 2114, no luck yet…
I’ll start by ordering the 6514J-9 and hope the 2114 still works. If not, I’ll need to look for a replacement.
Anyway, I’m in a hotel in Sweden for the next two weeks, doing some work, so there won’t be a lot of updates until I get back.
Cheers!
Which tools do I use?
Posted: 30 August 2011 Filed under: Electronics, General | Tags: eprom, logic probe, pinball, tools Leave a comment »
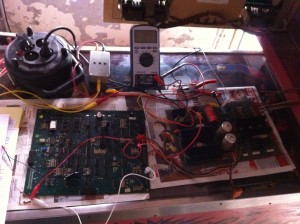
Well, so far it’s quite straightforward… a digital multimeter (I use the Velleman DVM-4100), a 30W soldering iron and a whole range of screwdrivers and pliers.
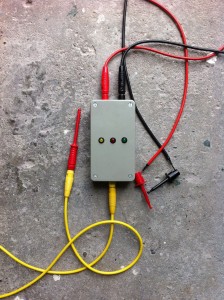
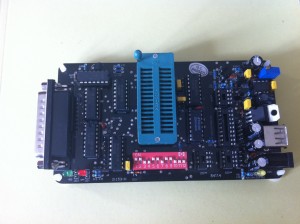
In preparation of repairing the CPU board, I have bought a Willem EPROM programmer (off ebay), two 2532 EPROMS (oh yes, I found some) and made a logic probe as described on the flipper-pinball-fan website (see my links).
Now I’m waiting for a PCMCIA Parallel port card for my laptop, so I can connect the EPROM programmer and make me a copy of Leon’s test EPROM from the flipper-pinball-fan website (see my links). Then the testing will continue!
 Flippers.be
 Videolan.org – The home of VLC