Pinball number 2
Posted: 20 October 2011 Filed under: Devil Riders, General | Tags: condition, pinball, zaccaria Leave a comment »
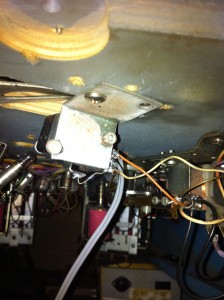
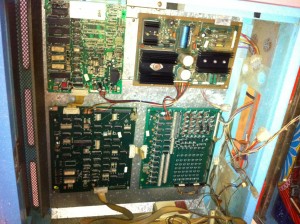
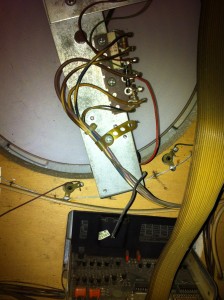
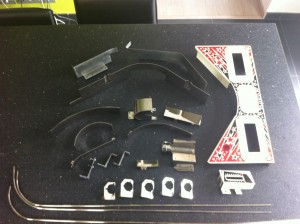
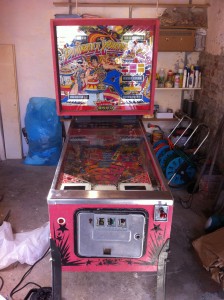
Well, now I’ve done it! I’ve gone and bought another machine. This time it’s a Devil Riders, also from Zaccaria, and also a 2nd generation. Mechanically it looks in better shape than the Pinball Champ, but the electronics have been “repaired” by an amateur (according to the seller). But for 100€ I’m not too bothered about it. The machine looks complete, except for 2 leg bolts.
Here are some pictures I took.
I’m going to test the CPU board of this machine in the other machine and make it work. That way I can compare the two boards and see where the problem is with my Pinball Champ CPU board. I’ll also start taking the Devil Riders apart and make a list of things I need to order so I can minimise shipping cost.
As always, I’ll keep you posted!
Dirt everywhere!
Posted: 22 September 2011 Filed under: Pinball Champ '82, Playfield | Tags: cleaning, condition, pinball, playfield, zaccaria Leave a comment »
Well, after finishing the dismantling of the playfield yesterday, I started cleaning all the bits and bobs today.
This morning my attention went to the metal pieces.
After some experimenting I found that using some steel wool for the biggest dirt followed by some chrome polish did wonders. On the painted parts I just used some soap.
There is some rust here and there, but I cleaned it up as best I can. I’m not too worried about the finished product not being showroom quality. This is a project to make a presentable, playable pinball machine, not a brand spanking new one… Who knows, maybe in the future I might revisit these pieces and get them back to mint condition.
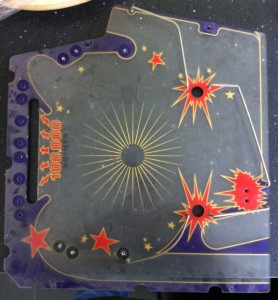
This afternoon it was time for the plastics. I used luke warm water and handsoap. I’m too scared of damaging the paint to try anything else.
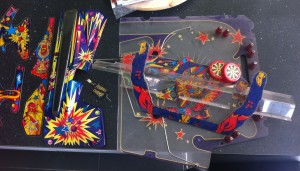
The most fun part to clean was the upper playfield.
I took of all the posts, all the metal wires and the habitrail and gave the plastic plate a wash. Same as before; luke-warm water and handsoap. Cleaned the wires, the posts and the habitrail and put it all together again with the new rubbers I bought.
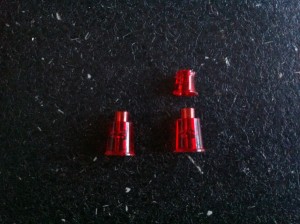
Unfortunately, while disassembling the posts, two of the special “stud” screws broke. I was able to remove the broken off part from one of the screws, but the other one is still firmly lodged in the playfield. Looks like I’ll have to drill it out. Not something I look forward too.
Also, whilest dumping all the posts in the sink, a tiny little half-post piece dropped down the drain. I immediately turned the water off and opened up the drain, but too late. It’s gone.
Tomorrow I’m going back to work on the playfield.
More problems solved and the start of cleaning
Posted: 21 September 2011 Filed under: Cabinet, Electronics, Mechanics, Pinball Champ '82, Playfield | Tags: cleaning, condition, drop targets, electronics, mechanics, pinball, playfield, zaccaria Leave a comment »
I went back to the power supply board today for two reasons; I still had that little POWER FAIL circuit to fix and I had trouble finding the reason why my controlled playfield lights weren’t lighting up. So I found that the 5V was missing from CN2.
After some testing I found that it was the fuse and fuseholder were oxidised. Some cleaning took care of that and now the 5V is back.
It occured to me that now that this 5V was back, the POWER FAIL circuit had to be revisited, and low and behold, the POWER FAIL signal is gone. So the circuit wasn’t failing, I had a missing voltage and had completely missed it. DOH! /facepalm
I reconnected the POWER FAIL signal on the CN9 connector on the CPU board and everything still boots up 🙂
After that was all over with, I started disassembling the playfield, documenting everything with a lot of photo’s since I want to be able to put it all back together again too…
Once I removed everything from the top of the playfield, I flipped it over and got to work on the top drop target bank.
I removed the broken drop target, replaced it with the one I got from David from zaccaria-pinball.com (see my links) and flipped the playfield over again.
So with that done, I started cleaning. I haven’t done a lot yet, but here’s a picture for you to see how much difference it makes already.
And notice the working lights, what a big difference 5V makes 🙂
So what did I buy?
Posted: 30 August 2011 Filed under: General, Pinball Champ '82 | Tags: berfore, condition, pinball, zaccaria Leave a comment »
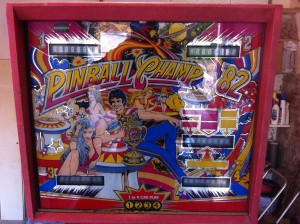
I bought a Pinball Champ ’82. This machine was built by Zaccaria in Bolognia, Italy in 1982.
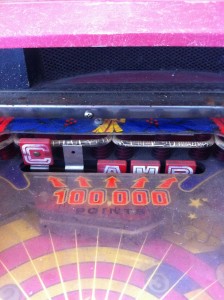
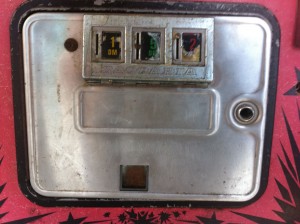
Some pictures:
The backglass is in relatively good condition. There is some wear above the 2nd and 3rd player displays and the lift trim is rusted.
The playfield needs a thourough clean, all rubbers need replacing, burnt out lamps need replacing and some screws are missing, but all plastics are intact!
This is my biggest worry… How am I going to replace that missing “H” drop target? I have no idea yet.
The door is a mess, the cable tree inside has been cut, the lock has been drilled out, the door is deformed and doesn’t close or open easily, the red Zaccaria door sticker is missing and don’t get me started on the coin slots…
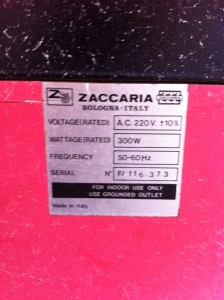
The serial number of the machine. I haven’t registered it yet on the Internet pinball serial number database, I’ll do that when it’s restored.











 Flippers.be
 Videolan.org – The home of VLC