More cleaning
Posted: 12 November 2011 Filed under: Devil Riders, Electronics, Mechanics, Pinball Champ '82, Playfield | Tags: cleaning, inserts, outhole kicker, pinball, playfield, popbumper, power supply, zaccaria Leave a comment »
I’ve received the new fuse clamps and quickly installed them on the Devil Riders’ power board. No more fiddling with the fuse.
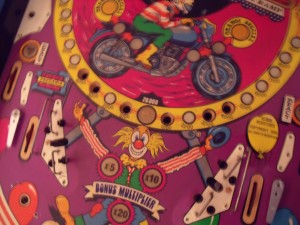
Then I took out the sunken inserts.
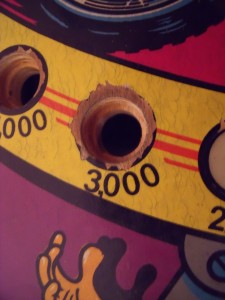
After a close inspection I saw that the 3000 hole is in the worst shape. It will need some wood filler and paint touch up.
I’ve reseated the inserts with some superglue, they shouldn’t move anymore.
I also took apart all the targets at the end of the playfield, cleaned them and reinstalled them. Fortunately, the print on them is still in good condition, so I don’t have to replace any of them.
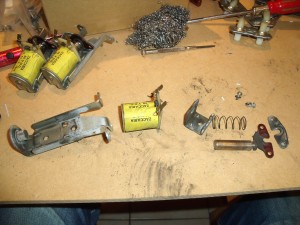
With that done, I started on the popbumpers. They were dirty and one is using a wrong coil that didn’t fit very well and was missing some screws.
All the popbumpers are now clean and ready to be reinstalled. I kept the one with the wrong coil as I’m still looking for a replacement coil.
I also took apart the outhole kicker, cleaned it and reinstalled it. I noticed that the wrong coil used in the popbumper is the same coil that is used for the outhole kicker. So if I ever find a new popbumper coil, I’ll have a spare outhole kicker coil.
Next up the metal parts and the plastics. Then we can start to reassemble!
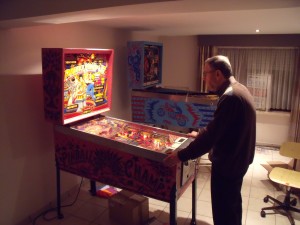
Oh and my dad came by for a game on the Pinball Champ…
The electronics
Posted: 30 August 2011 Filed under: Electronics, Pinball Champ '82 | Tags: cpu, electronics, pinball, power supply, sound, zaccaria Leave a comment »
Before switching on the pinball machine for the first time, I checked the input voltage settings on the main transformer and the fuses there and I checked the fuses on the power supply board. I needed to replace one fuse, it looked good, but when I measured it with my multimeter it failed the test.
Then I finally switched the machine on. Nothing happened. Then I plugged in the power cord and tried again… Lights came on, displays flickered at random and then went out. That was it.
Clearly things are not working as they should, time for some troubleshooting.
So where to start? With the power supply ofcourse!
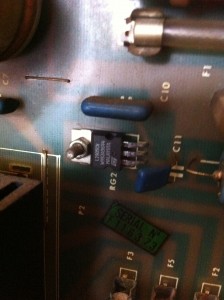
The first thing I noticed was no -5VDC due to a defective 7905. Off to the store I went and now the power supply has a brand new 7905.
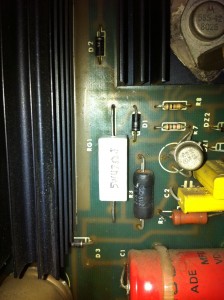
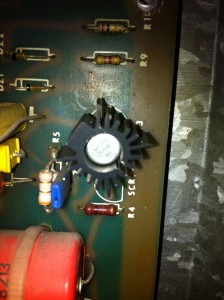
Unfortunately after fixing the -5VDC I tested again and the 170VDC was gone. After a few measurements I noticed that TR3 (2N3440) had come loose from the PCB. Shabby soldering? That knocked out R6 (47 Ohm 3W) as well. Off to the shop I went again. I had to use a 5W resistor, but that’s not a problem.
I reconnected the power supply board into the pinball machine and tried again. Except for a pop from the loudspeaker when switching on nothing changed. I disconnected everything except the sound board and after pressing the test button on it, the LED blinked 5 times and the pinball machine started talking to me 🙂
The Sound Test video, best viewed with VLC media player (see my links section).
I disconnected the sound board and reattached the CPU board. It would not boot. After some reading on zaccaria-pinball.com (see my links section) I checked the Power Fail signal coming from the power supply board and yes, it was the wrong signal 🙁
So I did what all good technicians do and disconnected the lead from the connector. Problem solved. I promise to get the power fail circuit fixed later on. I promise!
After retrying to boot the CPU, it actually did… sort of. I starts booting but then keeps hanging somewhere. When measuring the test points, I don’t get the pulse signal on TP6. Further testing and digging in the schematics is necessary. To be continued…





 Flippers.be
 Videolan.org – The home of VLC