Bad day at the office
Posted: 16 November 2011 Filed under: Devil Riders, Mechanics, Playfield | Tags: outhole kicker, pinball, playfield, popbumper, zaccaria Leave a comment »
Well, everything started off promisingly enough. I had already cleaned the popbumpers, so all I had to do was reinstall them. Or so I thought.
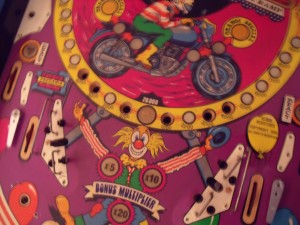
I had bought new mylar trim platters to replace the dirty and desintegrated old ones, so I started with cutting to of them to size. They need to have a corner cut out to fit around some posts that are really close to the bumper. Then I started installing the first popbumper. The base plate first, then the switch and then the popbumper body with the new mylar trim. Not good…
You can clearly see that the trim is lifted up about half a centimeter. Now way that’s right… So I dismantled the body again and had a close look at it all.
So the holes in the trim are too small. I should have noticed that earlier. I checked on the website of the place where I had bought them but since they only had one-size-fits-all, there’s nothing much I can do. So happy I just bought a new multi=tool!
So with a bit of finesse I managed to widen the hole and now the trim fits perfectly.
Rince and repeate three times and finally the popbumpers are installed.
That took a lot longer than expected and since I only had about 20 minutes left before I had to go, I thought to quickly install the new outhole switch. I soldered a diode over the appropriate contacts and went to get the bracket to fix it to the bottom of the playfield.
The bracket was no where to be found! Where did I put it. Where could it be. Then I remembered that I checked the bracket on the playfield to see which were the correct holes last time I worked it and I might have left it there when I left. And today while turning the playfield over to get tot the popbumpers it might have fallen off. After 5 minutes of sitting on my knees, clearing out my toolbox bit by bit, I still hadn’t found it. Finally I noticed something weird with one of the flipper assemblies, there was a piece of metal sticking out that shouldn’t be there. Sure enough it was the bracket that got lodged between the playfield and the flipper assembly. I had found it!
So I started screwing it in place only to notice one of the screws and bolts for the microswitch itself was missing. Where was it? Still on the old switch! So into the trashcan I went. Luckily I hadn’t emptied the trash yet, so it was still in there and I could recuperate the screw and bolt. With the new switch finally installed I soldered the leads to it and now the bottom part of the playfield is done.
So with all that bad luck and stupid mistakes, an hours worth of work took me over three hours to do. Bad day at the office indeed!
More cleaning
Posted: 12 November 2011 Filed under: Devil Riders, Electronics, Mechanics, Pinball Champ '82, Playfield | Tags: cleaning, inserts, outhole kicker, pinball, playfield, popbumper, power supply, zaccaria Leave a comment »
I’ve received the new fuse clamps and quickly installed them on the Devil Riders’ power board. No more fiddling with the fuse.
Then I took out the sunken inserts.
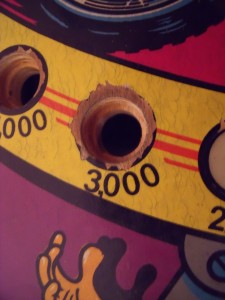
After a close inspection I saw that the 3000 hole is in the worst shape. It will need some wood filler and paint touch up.
I’ve reseated the inserts with some superglue, they shouldn’t move anymore.
I also took apart all the targets at the end of the playfield, cleaned them and reinstalled them. Fortunately, the print on them is still in good condition, so I don’t have to replace any of them.
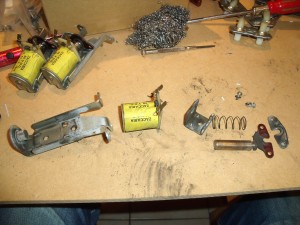
With that done, I started on the popbumpers. They were dirty and one is using a wrong coil that didn’t fit very well and was missing some screws.
All the popbumpers are now clean and ready to be reinstalled. I kept the one with the wrong coil as I’m still looking for a replacement coil.
I also took apart the outhole kicker, cleaned it and reinstalled it. I noticed that the wrong coil used in the popbumper is the same coil that is used for the outhole kicker. So if I ever find a new popbumper coil, I’ll have a spare outhole kicker coil.
Next up the metal parts and the plastics. Then we can start to reassemble!
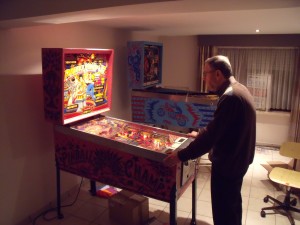
Oh and my dad came by for a game on the Pinball Champ…


 Flippers.be
 Videolan.org – The home of VLC