Humpty Dumpty back together again
Posted: 18 October 2011 Filed under: Cabinet, Pinball Champ '82, Playfield | Tags: cabinet, legs, neck, pinball, zaccaria Leave a comment »
It’s starting to look like a pinball machine agian!
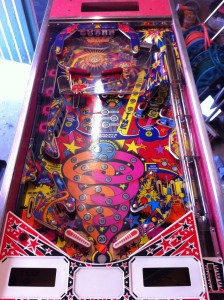
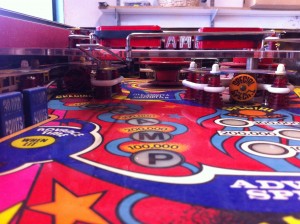
I’ve put the playfield back together and noticed that the left top flipper didn’t work and the right top flipper was weak. A quick pass with some sanding paper between the leaf contacts and they’re both tiptop again.
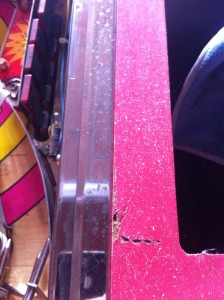
Here are some detail shots. Remember, I’m making this pinball playable, not perfect.
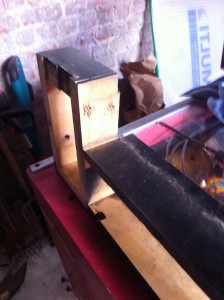
Then I turned my attention to the neck. In my previous post I mentioned I was going to use a toothbrush to get the white spots in the black paint, but when I was at the store to get some more ground paint for the legs, I saw a black paint spray can that already had the white spots in it. It’s called “Granit” effect. So I bought a can and here is the result. I used one coat of black and one coat of the “Granit” black.
I like it!
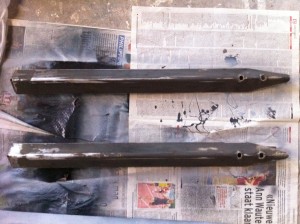
Next where the legs. I got the two back legs back from the blacksmith and they were perfect (at a cost of an amazing 5€!). So I sanded them down, gave them a base coat, two coats of glossy black and new levelers (with rubber protectors).
I also had a look at all the ground wires. NONE of them were connected in the transformer casing. That’s fixed now, my hair no longer reaches for the sky when I press the flipper buttons 😀
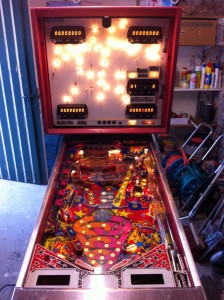
So I’m almost there, but not quite. The CPU board still needs work and the driver board still needs a thorough overhaul. In the mean time here’s a picture of where I am now.
Beheaded and dismembered
Posted: 13 October 2011 Filed under: Cabinet, Pinball Champ '82 | Tags: cabinet, cleaning, neck, painting, pinball, rust, zaccaria Leave a comment »
No, I didn’t kill the pinball machine! I just started some work on the neck and legs.
So the legs have been taken off. The front legs are in good shape. The rusted levelers came out with some WD-40 and except for some rust the legs are fine. Sanding and painting up next. The back legs however are problematic. The rusted levelers are rusted in place and one leg is even bent at the bottom. I considered buying four new legs and levelers, but then I heard that there’s a blacksmith in our village. I should get those two back legs back tomorrow, straightened and levelerless (is that a word?). I’ve also ordered four new levelers.
I’ve also cleaned the head door. The ZM1550 display modules arrived today and these will be soldered in place after the weekend. So the door is ready to take the repaired displays. The guy who sold the modules to me added an extra display controller board which I will modify to take a LED display so it can run on 5V only and I can use it to test the CPU board without the 160V. I found this modification on Leon’s website (see my links for the flipper-pinball-fan site).
I’ve also ordered a new lock for the head and bought four M10 bolts and washers as the originals are missing. Unfortunately the bolts don’t seem to fit, I guess those Zaccarians used non-metric size bolts, I’ll have to check that.
Between the head and the cabinet, there is a neck with a little metal grill. This grill is completely rusted, so I beheaded the pinball machine and took the neck off.
I immediately noticed a couple of things; first, one side of the neck was never painted and second the metal strip holding the cabinet glass was badly rusted.
So I’ve removed everything from the neck and sanded it down for a new paintjob. I’m going to follow David Gersic’s advice (see his zaccaria-pinball site in my links section) on getting the white splatter back on the black paint using a tooth brush.
I’ve also cleaned up the metal strip using some steel wool and chrome polish. Nothing more, I want to play this machine, not put it in a museum.
The metal grill has had it’s ground coat too.
The black paint you see under there is a remnant from painting the same style grill that resides at the bottom back side of the cabinet (nicely hidden). It came out perfect, so that’s why I’m doing this one in the same manner.
I’ve tried to paint the transformer casing with Hammerite paint, but that was a big mistake. Now it needs to harden for 2 weeks until I can sand it off again and start over.







 Flippers.be
 Videolan.org – The home of VLC